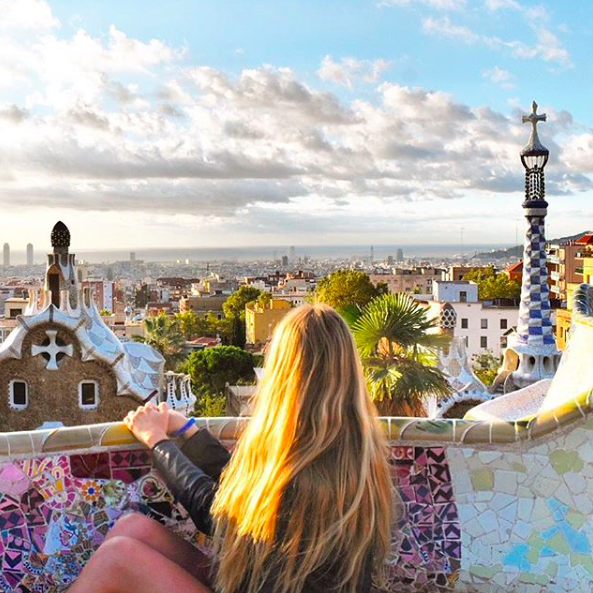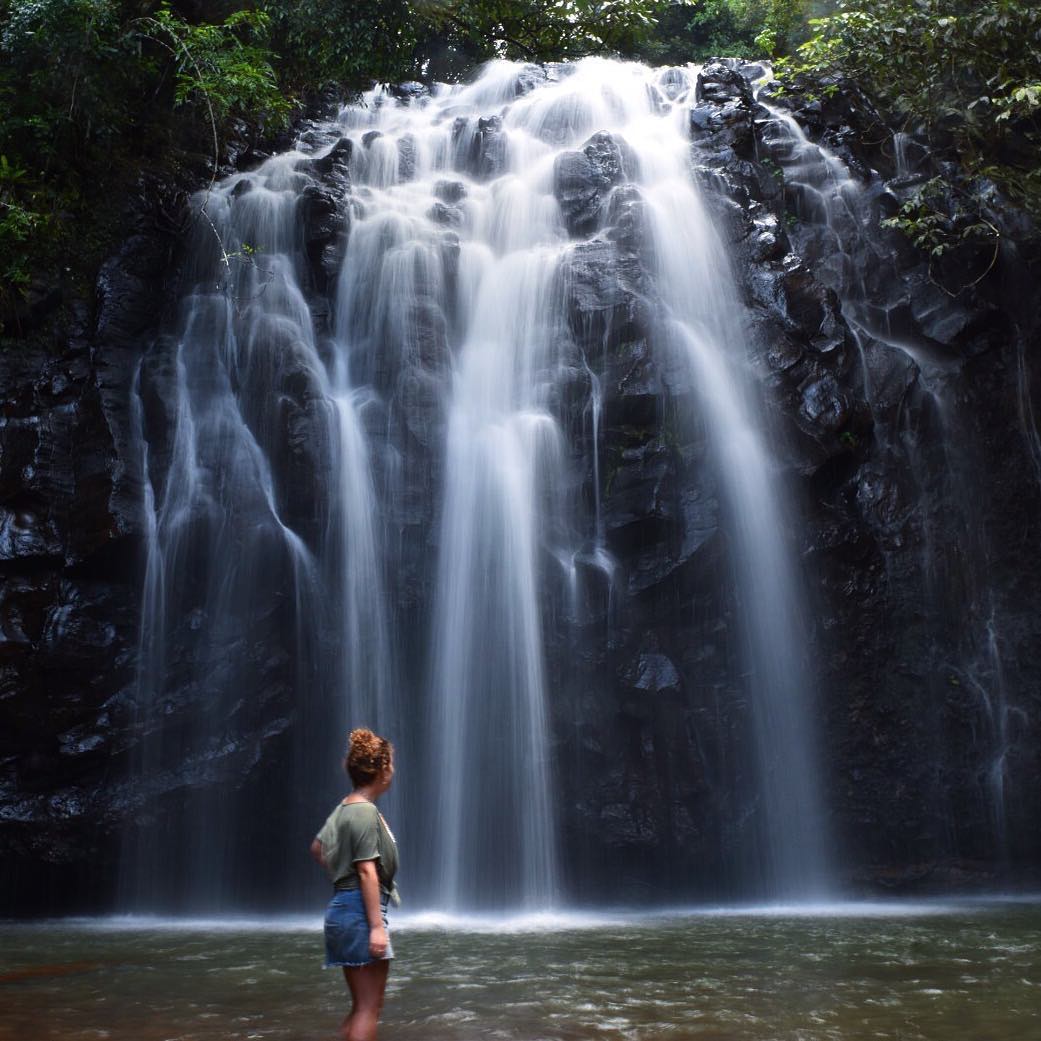
The world is full of beautiful, jaw-dropping, magnificent, incredible (you get the picture) destinations. But sometimes, photography requires a little more work than just point and shoot to really display the magnitude of what you see before you. Learn how to take better photos with these great and easy to follow photography tips.
1. Keep the horizon horizontal!
Once you notice this trick you won’t be able to un-see it. The easiest way to immediately improve any photo is to ensure your shot aligns with the horizon.
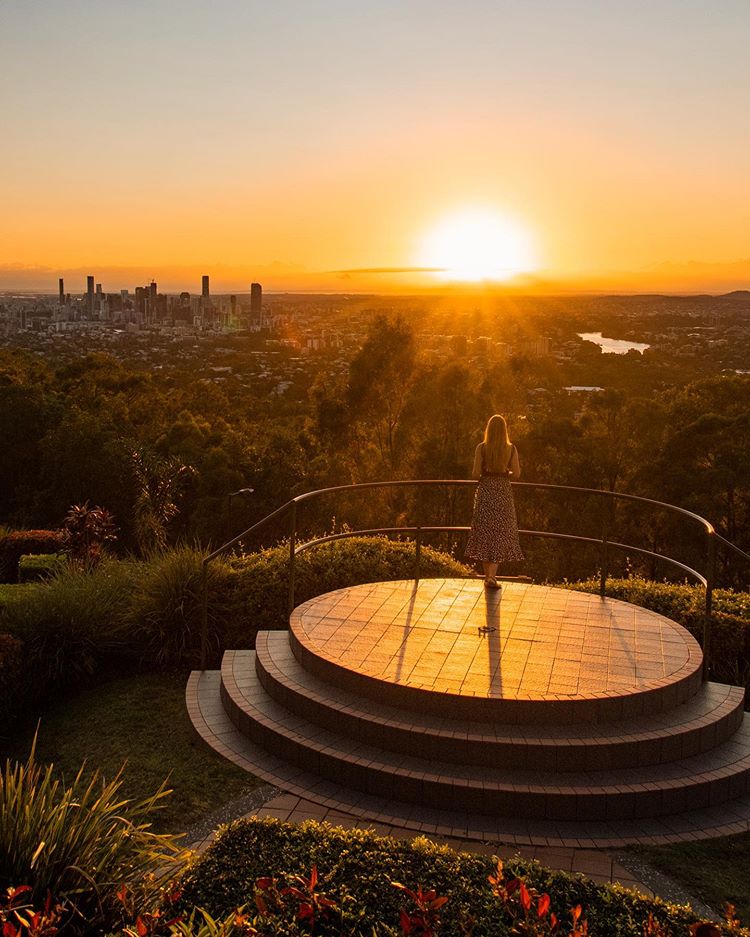
While it may seem artsy to get your camera on an angle where the horizon is diagonal or not horizontal, it is one of the biggest tell tale signs of a novice photographer (or someone who took a photo on the run).
By keeping your horizon horizontal, this tiny improvement has a really big impact on the quality of your shot.
2. Rule of thirds
When most people take a photo they put the focus point of the photo right in the centre and click. Use the rule of thirds framing technique to improve your photos instantly by making them more interesting.
How to implement the rule of thirds
Imagine gridlines of your camera that divide what your camera is seeing into thirds both horizontally and vertically. A lot of cameras actually already have inbuilt gridlines that show the rule of thirds through the view finder or live view so have a look in your settings.
Use this grid as a working guide to frame your photos. For example: For focus points in your photo, instead of putting them in the centre of your shot, frame your shot so that the focus points are sitting on the left or right third of the photo.
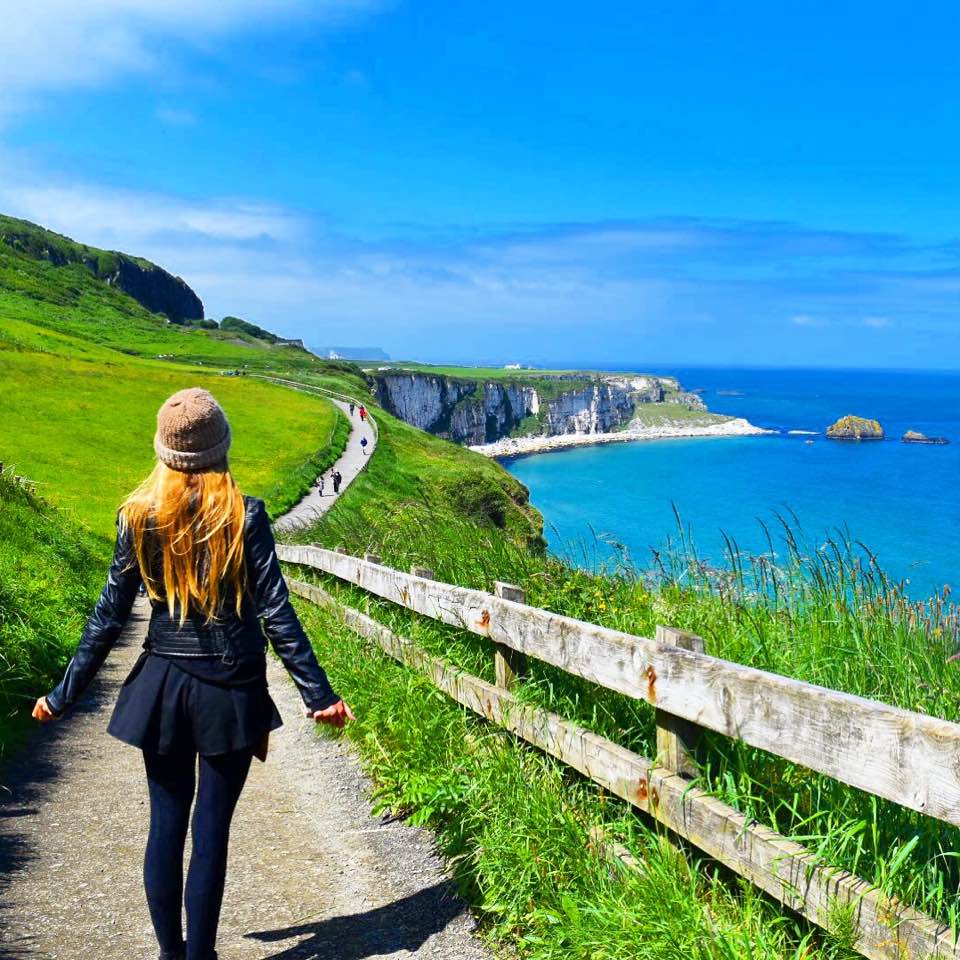
By implementing rule of thirds you are creating a ‘scene’ that the focus point of your image is in, rather than a ‘I took a photo of this person here’ type of shot.
Once you recognise the rule of thirds you will see this a lot in professional photos and it’s one of the easier photography tips to implement.
Important to note: There are no real ‘rules’ in photography. If you don’t believe the rule of thirds is going to work for the image you have in mind, you don’t need to implement it.
3. Use people
People like photos with people in them. It’s pretty simple. Adding yourself or your friend into your photo brings a human element that adds interest. People also help provide scale and perspective, it can be hard to gauge the height of a waterfall or just how tall those trees are without a person to show comparison.

Don’t be afraid to jump in front of the camera to give it a human perspective!
4. Early bird gets the worm
One thing that’s easy to notice about great photos is that they are often sans crowds. This is especially true when you are travelling as most popular places can get very busy in the day making photography difficult or not as good as it could be.
By waking up pre-dawn and getting to where you want to be at first light can make all the difference. There is a chance you’ll find some other likeminded photographers doing the same thing as this is one of the well known photography tips, but you will still have more of an opportunity to take a great photo without a lot of random people in it. Plus the golden light at sunrise is amazing for photography.
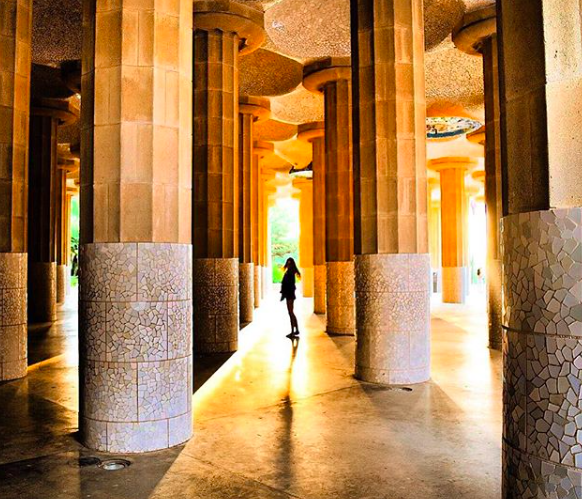
And don’t forget, having some of the busiest attractions in the world all to yourself is well worth the early wake up call!
5. Pay close attention to your framing
Pay close attention to what you are actually capturing within your shot. Often people will look at the focus point of their camera, check, that’s good, implement rule of thirds, yep, check, that’s good and then snap the shot without realising that moving it even 2-3cm to the left could’ve improved it’s overall look considerably.
This is especially true when considering how much ground is in your shot or whether half a tree is hanging in the corner. Including the entire tree could improve the whole photo and as a general rule getting rid of unnecessary ground in the shot by framing better or tilting differently will also improve your photo.
It’s not just about the focus point of the photo but every element that comes into your frame, so be sure to keep a close eye on everything you are capturing.
6. Angles
When taking a photo, shoot from a range of different angles (although don’t forget to keep the horizon horizontal!). There is always a benefit in taking additional shots from up high or down low from your original shot and then assessing later which one if your favourite. Photos with someone overlooking a scenic location can often look more impressive if shot from up high because it allows more of the location into the shot.
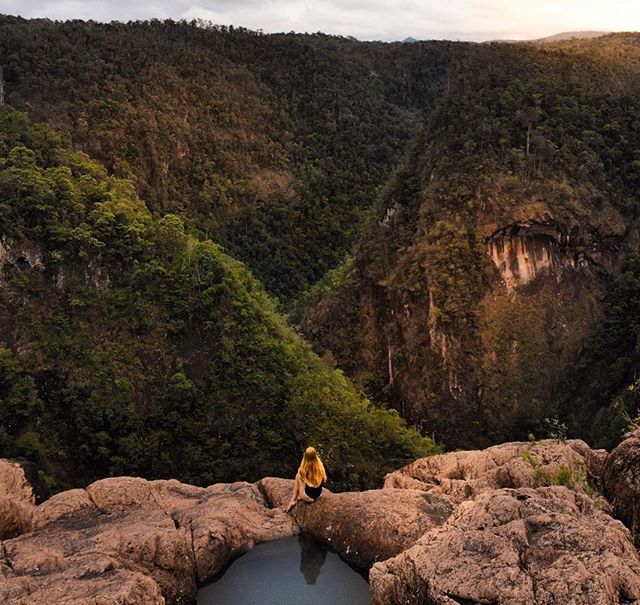
7. Take a lot. I mean, a lot.
The beauty of the digital age is that photography is a lot easier and a lot less expensive. With digital cameras and phones we are able to snap away to our hearts content, delete what we don’t like and keep what we do. Utilise this and make sure when you are taking photos you take a lot of them.
8. Use natural light
Where possible, harness the sun and use natural light in your photos. As a general rule natural light looks better than man-made light, especially for nature and travel photography.
9. The golden hour
As mentioned above, the hour from sunrise and the hour before sunset is the photographer’s time to shine. Often dubbed ‘Golden Hour,’ this time of the day has soft, golden lighting that often highlights trees and waterfalls aesthetically. Shooting in golden hour also means that is no harsh direct sunlight or deep shadows that throw off the composition of a photo.
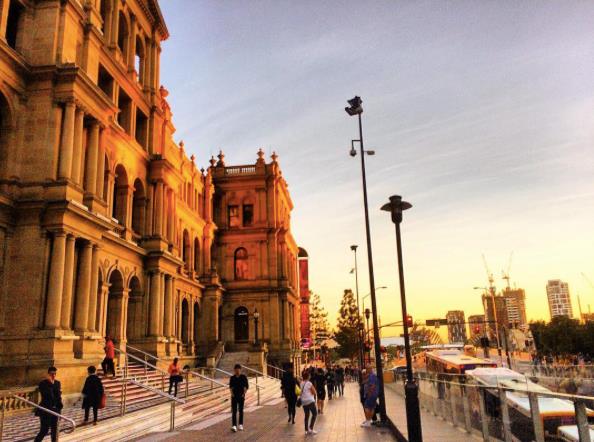
Golden Hour is another one of the well known photography tips and it is when you are most likely to see photographers out and about. Do what they do and ensure you’re out with your camera in the early morning and late afternoons.
10. Edit!
The photos you see and love – yep, they’re all edited. Remember this when you are looking and comparing photos online to your own unedited photos.
Learning to edit is one of the best photography tips that you can gain. If you are learning how to edit, download an editing app like Lightroom (my preferred editing platform, although it took a few months for me to warm up to it) or even play around with Instagram’s inbuilt editing options.
I edit to enhance an image and bring back elements of the scene that the camera may have not captured (especially anything lost in shadows or has lost colour intensity).
Be careful not to go overboard. It can be really obvious when an image has been over-saturated and this often makes the photo look much worse than what it did beforehand. If you’re concerned your image is too highly saturated look at the clouds and the sky as these are the big give aways. If the sky is turning patchy, it’s a pretty big sign you’ve gone a step too far.
11. Tripod and remote/smart phone – your two best friends
A lot of photographers who feature in their own images are often asked “Yeah, but who TOOK your photo?” without realising that most times these photographers have a tripod and remote with them so they can take the image themselves.
Cameras now often come with in-built Wi-Fi and a downloadable phone app to be able to connect to your camera through your phone. This allows you to take a photo and be in it as well. If your camera doesn’t have this function, there is always the 10 second self-timer dash.
Tip: Don’t get embarrassed. Who cares if people are looking at you for taking photos with a tripod, it’s very unlikely you’re going to see them again. It’s also very likely those who are looking at you are the same people who admire the photos taken by this method when they see them online.
12. Get to know your camera
Take the time to learn your camera settings and how to shoot in manual. While it may take a little bit to learn what settings are best for your camera and how to utilise them for different shoots, once you have grasped ISO, shutter speed and aperture, a whole new photography world opens up to you. Including one of my favourite forms of photography, waterfall long exposure.
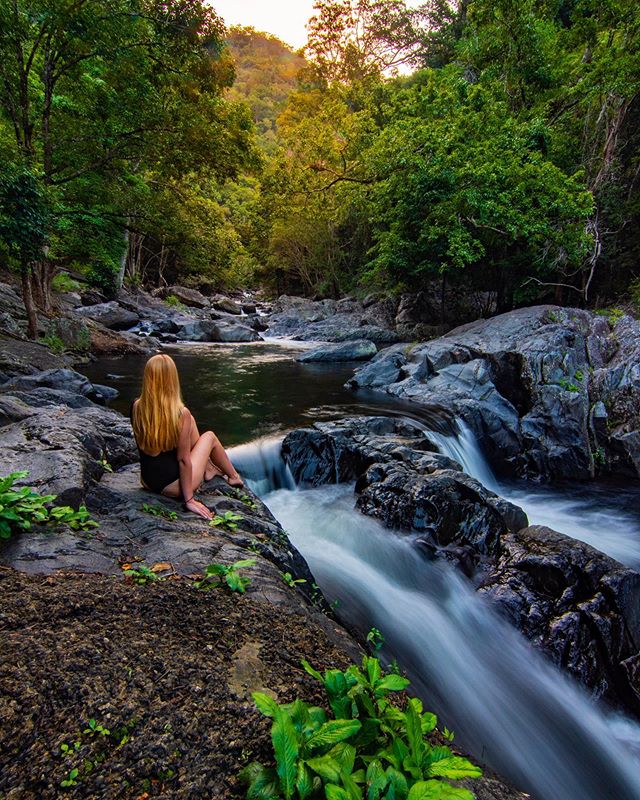
13. Look and learn
Finally, look and learn. One of the best photography tips that you can get is to always be learning. If you see a photo you like, study it and work out what it is that you like about it and you think they would have done to achieve the image. For example: did they include a subject in the foreground or did they take it from up high? Also ask yourself what you would have done to improve upon the image to make it better.
Looking at different techniques other photographers use can be a great way to teach yourself new tricks and techniques to try in your own photos and keep your mind actively looking to improve.
That’s the thing about photography is it’s all a constant learning curve.
And the best way to improve your photography beyond any of these photography tips? Practice!

